When checking out, simply select the "New Customer" option. All you need to get started is a valid email address and a secure password of your choosing. After your purchase is complete, your account will be created, and you will immediately gain all the benefits of being an account holder. If you have previously placed an order with us as a guest, you can try using the "Forgot Password" feature under the "Sign In" tab.
Benefits of having an account:
Real-time status updates on all your orders and returns.
Ability to view detailed order history.
Eligibility to enroll in subscription items for recurring discounts.
Access to more store features and quicker customer support.
Connection to a dedicated sales representative if placing bulk orders.
Manage your account settings:
Update your email address and password.
Unsubscribe from email promotions.
Manage item subscriptions.
Delete your account and remove your information.
We respect your privacy and are committed to protecting any personal information you may provide us through our Website. View our privacy policy for more info.
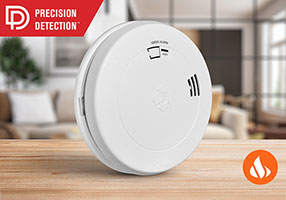
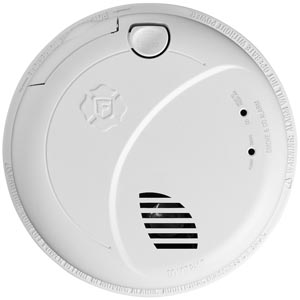
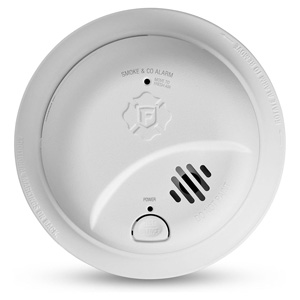
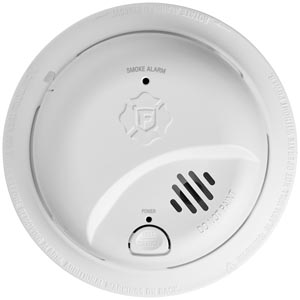
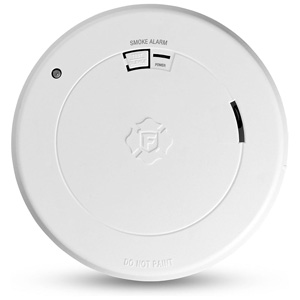
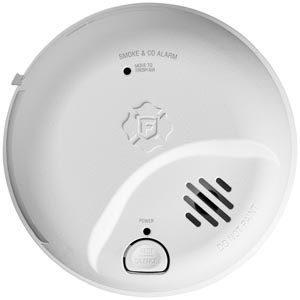
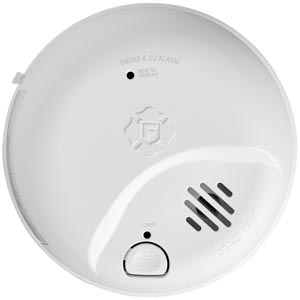
Carbon Monoxide Alarm Placement for Rental Properties
Apartments and rental homes often have unique carbon monoxide (CO) safety questions: Where should alarms go in smaller layouts, who is responsible for installing and maintaining them, and what type of alarm is allowed (hardwired, battery, or plug-in). This guide shares practical placement tips and common responsibility scenarios, plus basic “code-style” concepts to help you ask the right questions of your property manager or installer. This page is general information only and is not legal advice.
Why CO Alarms Matter in Apartments & Rentals
Carbon monoxide can come from fuel-burning appliances, shared mechanical rooms, fireplaces, or vehicle exhaust in attached/connected garages. In multi-unit buildings, CO can sometimes move between units through shared walls, hallways, and ventilation pathways. Because CO is odorless and invisible, alarms are the primary way residents get an early warning.
Where to Place CO Detectors in an Apartment or Rental
The goal is to ensure the alarm can be heard from sleeping areas and provide coverage throughout the unit.
Common placement best practices
Outside each sleeping area: place in the hallway or near bedroom doors so it can wake you.
On every level: for townhomes/duplexes/2-story rentals, place at least one per level (including basements where applicable).
Near (not next to) fuel-burning sources: if your unit has a furnace, water heater, fireplace, or gas stove, place an alarm to provide coverage without mounting directly beside the source.
Accessible for testing: choose a location where you can press the Test/Silence button and replace batteries if applicable.
Placement reminders that reduce false alarms
CO alarms do not need to be near the floor; CO mixes with air as it circulates.
Avoid dead-air corners, behind curtains, and blocked airflow areas.
Avoid direct airflow from vents, fans, open windows, and exterior doors.
Do not install in very humid areas like bathrooms or directly above cooking steam.
Who Is Responsible in a Rental: Landlord vs Tenant?
Responsibility can vary by local law, building code adoption, and your lease. The most common approach is that the property owner/manager provides required alarms and the tenant helps with routine care. Always check your lease and local requirements.
Typical responsibilities (common scenarios)
Property owner/manager often handles: providing required CO alarms, installing approved alarm types, replacing expired/end-of-life units, and maintaining hardwired/interconnected systems.
Tenant often handles: testing alarms regularly, keeping alarms unobstructed, and replacing removable batteries (if the lease assigns this to the tenant and the alarm uses replaceable batteries).
Shared responsibility: reporting chirping, trouble signals, damage, or missing alarms quickly so they can be serviced.
When to contact your property manager immediately
The alarm is missing, damaged, painted over, or removed.
You see an end-of-life indicator or the unit is past its replacement date.
The alarm continues chirping after battery replacement and cleaning.
You suspect CO exposure or the alarm sounds an emergency alert.
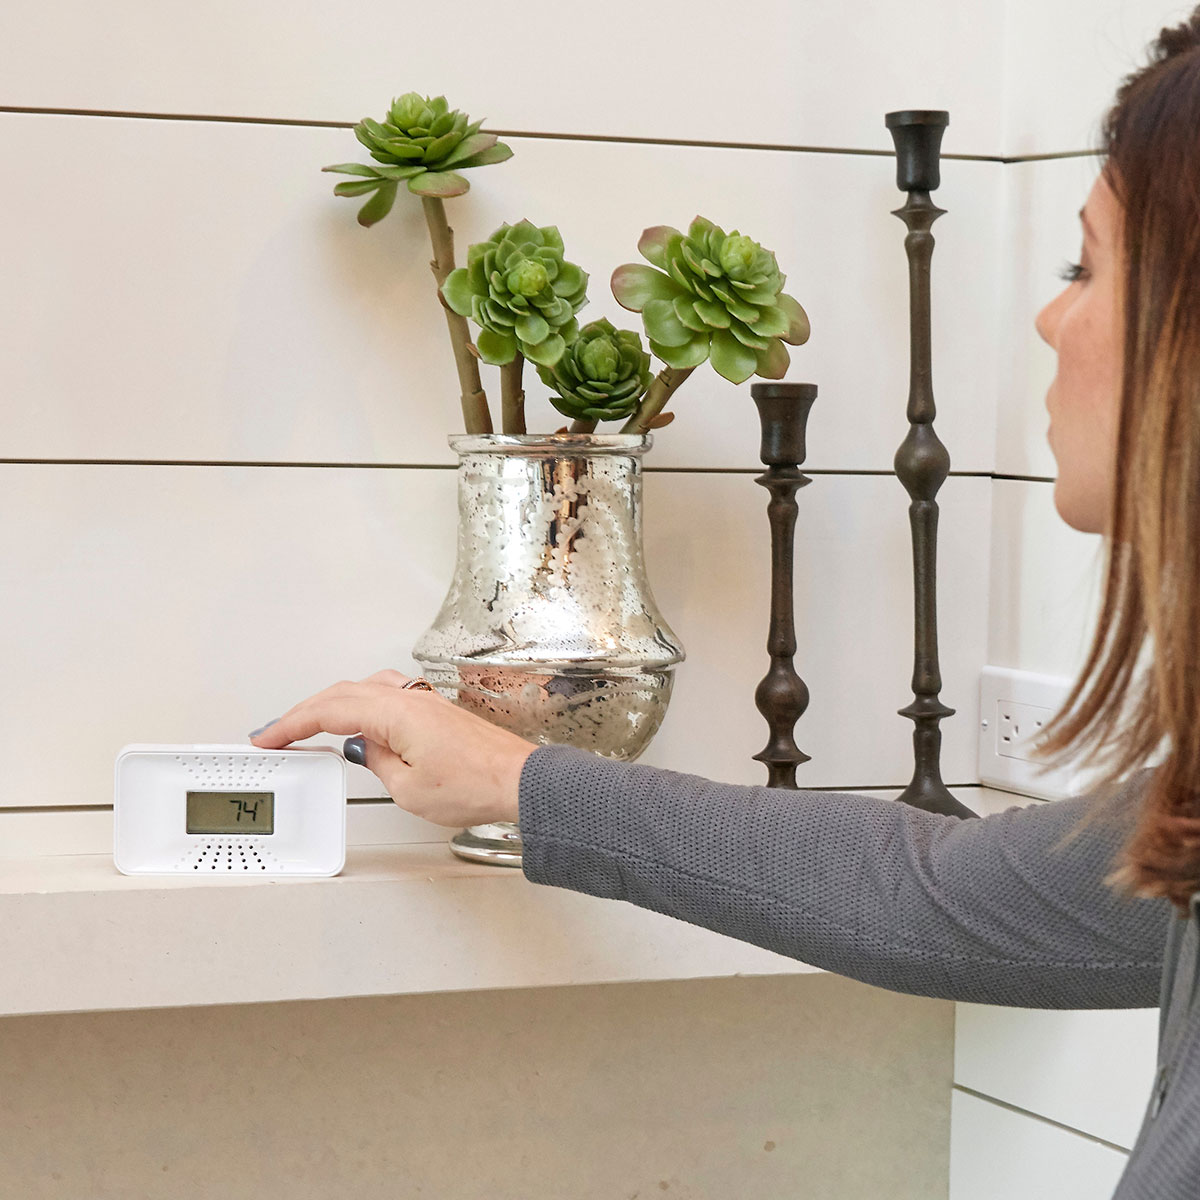
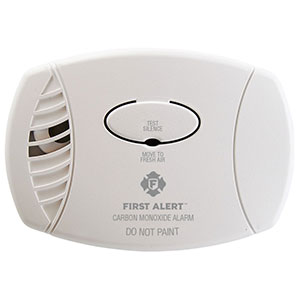
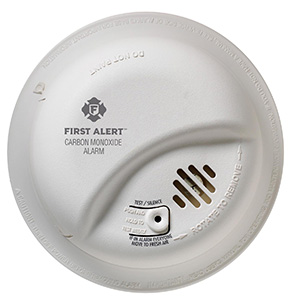
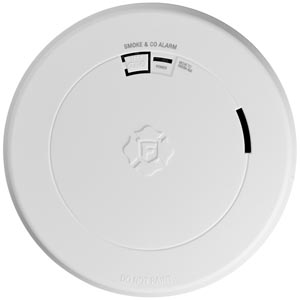
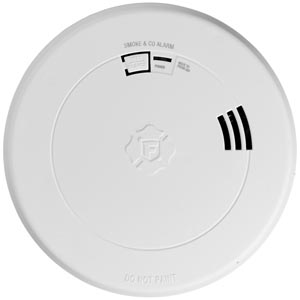
Hardwired vs Battery vs Plug-In in Rentals
Not every rental allows every type of installation. Some properties require hardwired alarms, while others allow battery or plug-in options in certain locations. The best choice is the one that meets local requirements and building policies while providing reliable coverage.
Hardwired CO alarms (common in newer buildings)
Pros: permanent power, often includes battery backup, may be part of a building-wide interconnect system.
Cons: usually must be installed/serviced by the property owner or a qualified electrician.
Best for: new construction, renovated units, buildings that require interconnected alarms.
Battery-operated CO alarms (flexible option)
Pros: easiest to add coverage quickly, no outlet required.
Cons: batteries require replacement/maintenance; some properties restrict tenant-installed devices.
Best for: older rentals, supplemental coverage, rooms without convenient outlets (only when permitted).
Plug-in CO alarms (fast install, outlet-dependent)
Pros: quick setup, easy access for testing, many models support battery backup.
Cons: requires a good outlet location; risk of being unplugged; not ideal if the outlet is switch-controlled.
Best for: hallway/outside sleeping areas where an outlet is available and unobstructed.
Rental-friendly installation tips
Before mounting anything, confirm what your lease allows (holes in walls, ceiling mounts, adhesive mounts).
If your unit already has hardwired alarms, avoid swapping the power type without property approval.
If you add supplemental alarms, avoid creating “gaps” by unplugging plug-in alarms or removing batteries.
Code Basics for CO Alarms (Non-Legal Advice)
Rules vary by city/state and by building type, but many code approaches share similar goals: alarms should be placed where they can warn sleeping occupants, cover multiple levels, and remain powered reliably.
Common code-style concepts you may see
Outside sleeping areas: alarms located near bedrooms so they can wake occupants.
On every level: minimum coverage per floor.
Power requirements: some buildings require hardwired alarms with battery backup, especially in new construction or major remodels.
Interconnection: some jurisdictions/buildings require alarms to be interconnected so multiple units sound together (often for smoke alarms; CO rules vary).
Replacement schedules: alarms must be replaced at end-of-life or by a specified age.
Questions to ask your property manager
Where are CO alarms required in this unit (bedroom hallway, each level, basement)?
Are alarms hardwired, battery, plug-in, or interconnected?
Who replaces batteries and how often should they be tested?
What should I do if I hear chirping or see an end-of-life light?
Are tenants allowed to add supplemental alarms, and what mounting method is approved?
Testing, Maintenance, and Battery Responsibilities
Test regularly: press Test/Silence according to the product instructions and your building’s policy.
Respond to chirping: chirps can indicate low battery, end-of-life, or a fault condition depending on the pattern and model.
Keep alarms clear: don’t cover alarms with furniture, drapes, or decorations.
Report issues quickly: if you are unsure whether an alert is low battery vs end-of-life, contact management for confirmation.
FAQs
In a rental, is the landlord responsible for CO alarms?
Often the property owner or manager is responsible for providing and installing required alarms, while tenants may be responsible for routine testing and battery replacement if the lease assigns it. Requirements vary by location and lease terms.
Where should I put a CO detector in an apartment?
A common best practice is outside the sleeping area (near bedroom doors). If your apartment has multiple levels, add at least one alarm on each level as well.
Can I use a plug-in CO alarm in a rental?
Many renters use plug-in alarms where an outlet is available, but building policies can differ. Choose an outlet that isn’t switch-controlled and won’t be blocked or unplugged.
Do CO alarms need to be installed near the floor?
No. Carbon monoxide mixes with air as it circulates, so CO alarms do not need to be near the floor. Follow the mounting instructions for your specific alarm model.
What should I do if my CO alarm keeps chirping?
First check the power source (battery or plug), then refer to your model’s chirp pattern guidance. If you’re in a rental, report persistent chirping or end-of-life signals to your property manager for service or replacement.
Learn where to install carbon monoxide alarms, how many you need, and placement tips for houses, apartments, and rentals - plus what to do when an alarm sounds.