When checking out, simply select the "New Customer" option. All you need to get started is a valid email address and a secure password of your choosing. After your purchase is complete, your account will be created, and you will immediately gain all the benefits of being an account holder. If you have previously placed an order with us as a guest, you can try using the "Forgot Password" feature under the "Sign In" tab.
Benefits of having an account:
Real-time status updates on all your orders and returns.
Ability to view detailed order history.
Eligibility to enroll in subscription items for recurring discounts.
Access to more store features and quicker customer support.
Connection to a dedicated sales representative if placing bulk orders.
Manage your account settings:
Update your email address and password.
Unsubscribe from email promotions.
Manage item subscriptions.
Delete your account and remove your information.
We respect your privacy and are committed to protecting any personal information you may provide us through our Website. View our privacy policy for more info.
Replacing a smoke alarm is one of the simplest safety upgrades you can make at home. Even if an alarm still beeps during a test, the sensor inside can degrade over time, which is why most smoke alarms should be replaced on a regular schedule. This guide walks you through when to replace your First Alert smoke alarm, how to identify your connection type (battery vs hardwired), how to choose the right replacement, and how to dispose of old alarms responsibly.
When to replace your smoke alarm
Smoke alarms contain sensors designed to detect smoke particles. Over time, sensors can become less reliable due to normal aging, dust exposure, humidity, and environmental conditions. Replacing old alarms helps maintain dependable detection.
Age: Most smoke alarms should be replaced about every 10 years (check the date on the back).
End-of-life signals: Some alarms chirp or beep in a specific pattern to indicate end-of-life.
Repeated nuisance issues: Frequent false alarms or trouble codes after cleaning can indicate a unit nearing the end of useful life.
After damage: Replace alarms that have been painted over, cracked, water-damaged, or exposed to heavy contamination.
How to find the manufacture date
Remove the alarm from its mounting bracket and look for a date label on the back. If the alarm is near 10 years old, replacement is recommended even if it still tests.
Step 1: Identify your connection type
Before buying a replacement, determine how your current alarm is powered. This will help you choose the correct replacement style and avoid installation surprises.
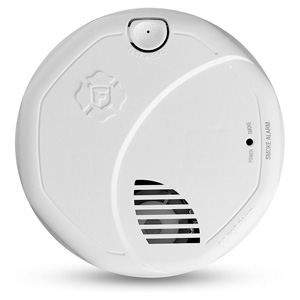
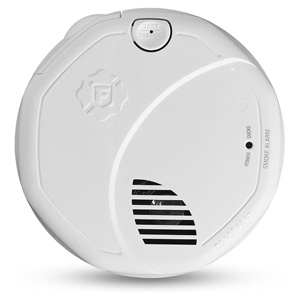
Battery-operated (replaceable battery)
Alarm twists off a bracket and has a battery door (often 9V or AA).
No wires are connected to the back of the alarm.
Common in apartments, older homes, and quick retrofit installs.
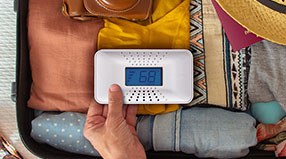
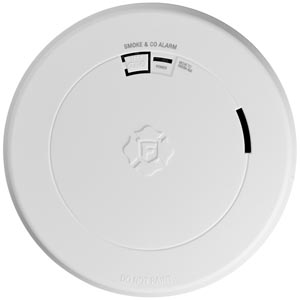
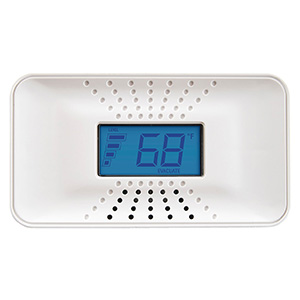
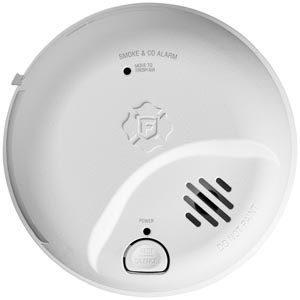
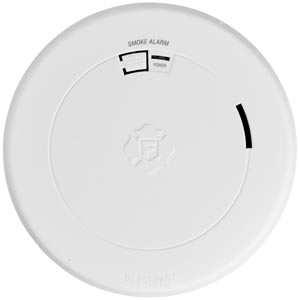
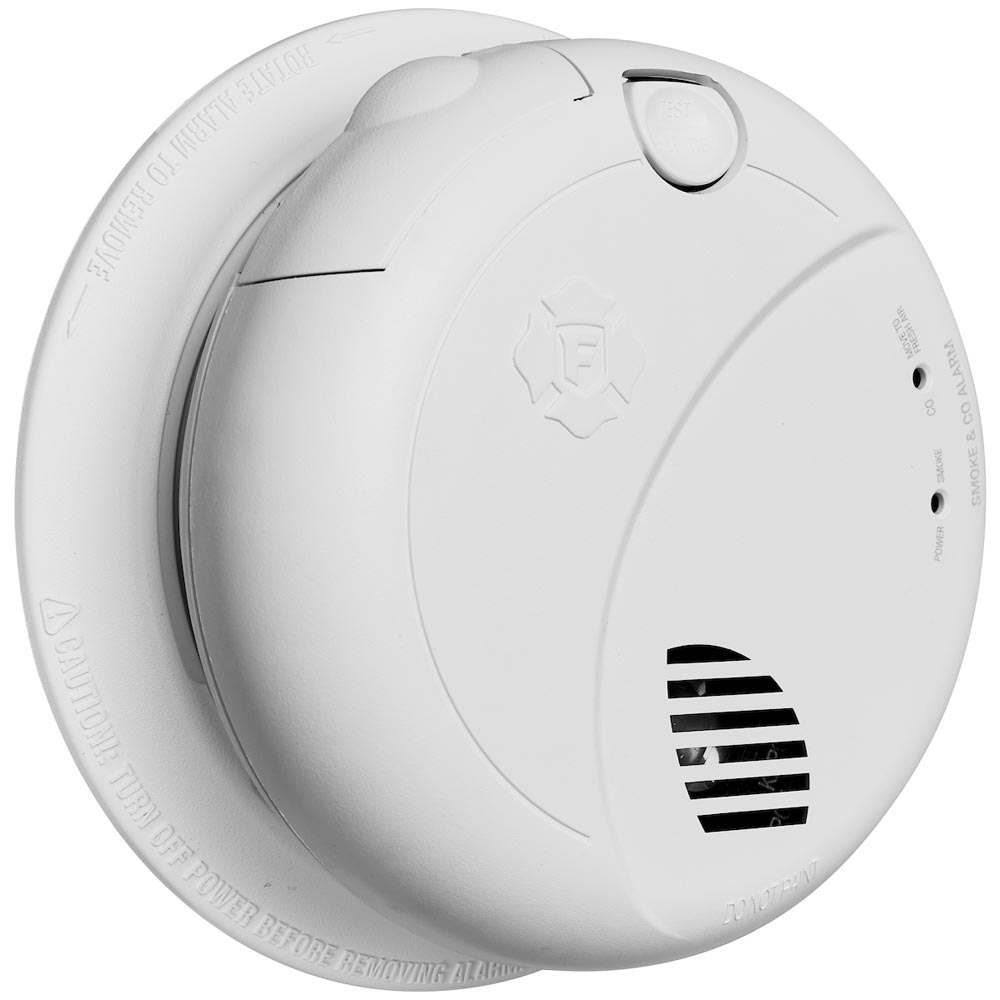
Battery-operated (sealed 10-year battery)
Alarm typically states "10-year sealed battery" on the front or back.
No battery replacement door (battery is sealed inside).
Entire unit is replaced at end-of-life.
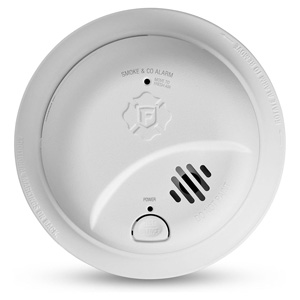
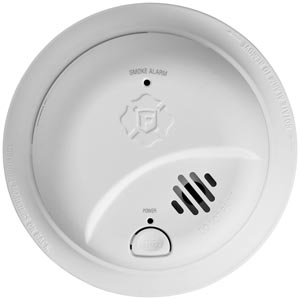
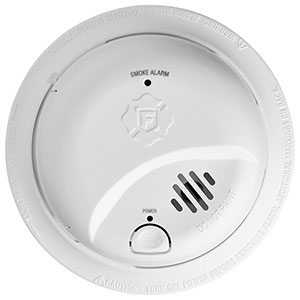
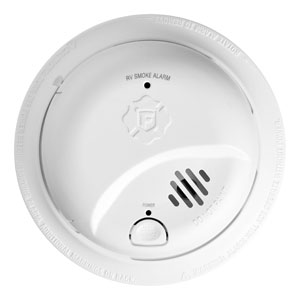
Hardwired (with battery backup)
Alarm is connected to household wiring with a plug-in harness.
Usually mounted to an electrical box in the ceiling or wall.
Often part of an interconnected system where all alarms sound together.
Step 2: Choose the right replacement
Choosing the correct replacement helps ensure proper fit, power compatibility, and (when applicable) interconnect functionality.
Match power type: Replace a hardwired alarm with a compatible hardwired alarm when possible, especially if your system is interconnected.
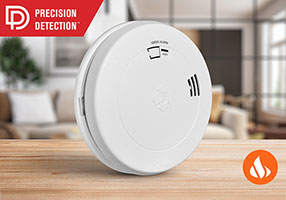
Consider sensor type: Photoelectric, ionization, or dual-sensor models can offer different nuisance resistance and detection strengths.
Interconnect needs: If your alarms are interconnected, choose a model that supports the same interconnect method (wired or wireless) and is listed as compatible.
Features: Voice alerts, location alerts, smart connectivity, or a hush button can improve usability.
Tip: Replacing one vs replacing them all
If multiple alarms in your home are the same age, it is often best to replace them around the same time so you can reset the "replacement clock" across the entire home.
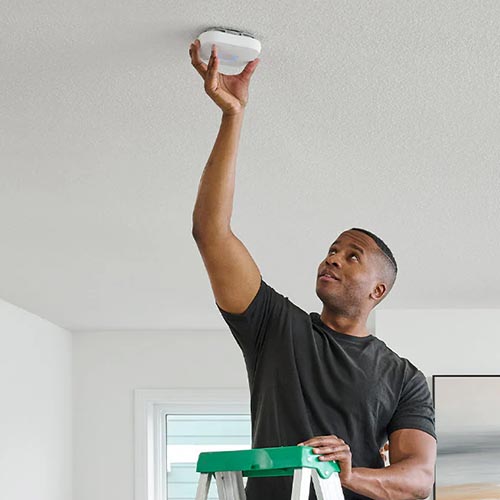
Step 3: Replace a battery-operated smoke alarm
Twist the alarm counterclockwise to remove it from the mounting bracket.
Remove the old battery (if applicable).
Install the new alarm’s mounting bracket if the screw pattern differs.
Insert the battery (for replaceable-battery models) or activate the sealed battery if your model requires a pull-tab.
Attach the alarm to the bracket by twisting until it locks in place.
Press the test button to confirm proper operation.
Step 4: Replace a hardwired smoke alarm (existing wiring)
If you are replacing a hardwired alarm in an existing location with an electrical box and harness already present, replacement is typically straightforward. If wiring is missing or damaged, consider using a qualified electrician.
Turn off power to the smoke alarm circuit at the breaker panel.
Remove the alarm by twisting it off the mounting bracket.
Disconnect the wiring harness from the back of the alarm.
Install the new mounting bracket if needed (attach it to the electrical box).
Connect the wiring harness to the new alarm (use a harness adapter if included/required by the model).
Install the backup battery (if your new hardwired alarm uses one).
Attach the alarm to the bracket and restore power at the breaker.
Test the alarm using the test button.
If your alarms are interconnected
After replacement, test interconnect functionality. Press the test button on one alarm and confirm the other alarms in the network also sound. Repeat from a different alarm to verify the full system responds.
Step 5: After-install checklist
Test each alarm and confirm it sounds loudly.
If interconnected, verify all compatible alarms trigger together.
Write the replacement month/year on the inside of the alarm or keep a home maintenance note.
Vacuum around the alarm monthly to reduce dust buildup.
Disposal and environmental safety
Smoke alarms contain electronic components that should be disposed of responsibly. Local requirements vary, so check your municipality’s guidelines.
Do not burn or dismantle alarms.
Recycle electronics when available: Many areas treat alarms as e-waste.
Remove batteries: For replaceable-battery models, remove and recycle/dispose of batteries according to local rules.
Sealed battery units: Dispose as directed by local e-waste guidance.
If you are unsure
Contact your local waste management authority for e-waste and battery disposal instructions in your area.
Frequently asked questions
How do I know if my First Alert smoke alarm is expired?
Remove the alarm from the bracket and check the manufacture date on the back. If it is close to 10 years old, replacement is recommended even if it still passes a test.
Can I replace a hardwired smoke alarm myself?
If you are replacing an existing hardwired alarm with the same power setup and a working wiring harness, many homeowners can do it safely by turning off the breaker first. If wiring is missing, damaged, or you are unsure, use a qualified electrician.
Why is my alarm still chirping after I replaced it?
Chirping can come from a different alarm in the home, a low backup battery in a hardwired unit, a unit not fully seated on the bracket, or an end-of-life signal. Confirm which alarm is chirping and test each unit.
Should I replace all smoke alarms at the same time?
If your alarms are the same age, replacing them together can be a good approach so you maintain consistent protection and can track the replacement schedule more easily.
Ensure your home is protected with our First Alert smoke alarm installation guide. Learn the best placement for every room, understand NFPA recommendations, and avoid dead air zones to keep your family safe.