Product Support & Resources

Featured Products

Testing & Maintenance

Testing & Maintenance: Smoke & Carbon Monoxide Alarms

Your smoke and carbon monoxide (CO) alarms are only helpful if they’re working properly. Regular testing and simple maintenance can catch problems early, reduce nuisance alarms, and help keep your home protected year-round.

  • Quick take: Test alarms regularly, replace batteries when needed, clean monthly, and replace alarms at the end of their service life.
  • Important: The steps below cover typical First Alert smoke and CO alarms. Your model may vary—always follow your unit’s user manual if it differs.

How Often to Test Your Smoke Alarms

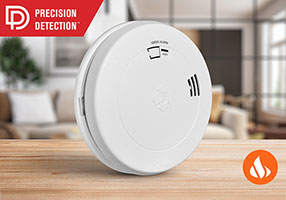
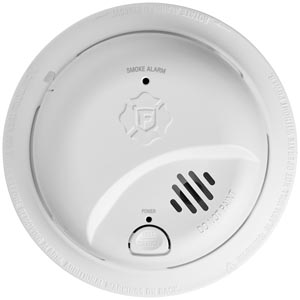
For most households, it’s best practice to test smoke alarms once per month. Also test after changing batteries, after extended travel, and after any power outage (for hardwired models).

  • Test monthly
  • Test after battery changes
  • Test after power outages (hardwired alarms)
  • Test after painting, remodeling, or heavy dust (then clean)

Step-by-Step: Test a Smoke Alarm

  1. Notify others (the alarm will be loud). If you have monitored security, consider placing the system in test mode.
  2. Press and hold the TEST/SILENCE button on the alarm.
  3. Listen for the test pattern (typically a series of loud beeps).
  4. Release the button and confirm the alarm stops after the test completes.
  5. If your alarms are interconnected, confirm nearby units also sound during the test.

Tip: If the unit has a voice feature, listen for spoken status messages that indicate normal operation or a condition that needs attention.

How Often to Test Your Carbon Monoxide (CO) Detectors

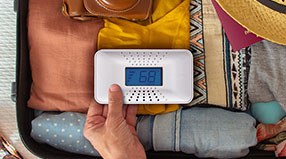
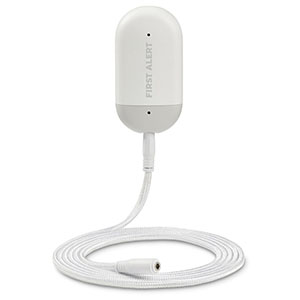
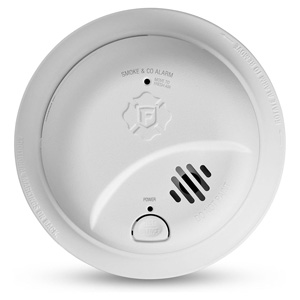
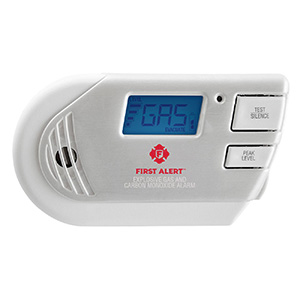
Just like smoke alarms, it’s best practice to test CO alarms once per month. CO is an invisible, odorless gas, so a working alarm is critical.

  • Test monthly
  • Test after battery changes
  • Test after power outages (plug-in/hardwired units)
  • Test before and during seasons of heavy fuel use (e.g., winter)

Step-by-Step: Test a CO Alarm

  1. Press and hold the TEST button on the CO alarm.
  2. Confirm you hear the alarm and/or see indicator lights respond (varies by model).
  3. Release the button once the test begins and verify the unit returns to normal.

Note: The TEST button checks electronics and sounder operation. It does not create real smoke or CO in your home.

What to Do If an Alarm Fails Testing

If you press TEST and the alarm does not respond correctly, work through these common fixes before replacing the unit.

  1. Check power: Confirm the alarm is receiving power (hardwired/plug-in) or that the battery is installed correctly (battery models).
  2. Replace the battery: Use fresh batteries of the recommended type, installed in the correct direction.
  3. Re-seat the alarm: If it’s a twist-on base, remove and reattach it firmly until it locks.
  4. Clean the alarm: Vacuum around the vents to remove dust that can interfere with sensors.
  5. Try TEST again after power/battery/cleaning steps.
  • If the alarm is still unresponsive, it may be at end-of-life or have an internal fault—replace the alarm.
  • If the alarm is sounding and you suspect a real emergency, treat it as real and follow your home safety plan.

How to Reset a First Alert Smoke or CO Alarm (Step-by-Step)

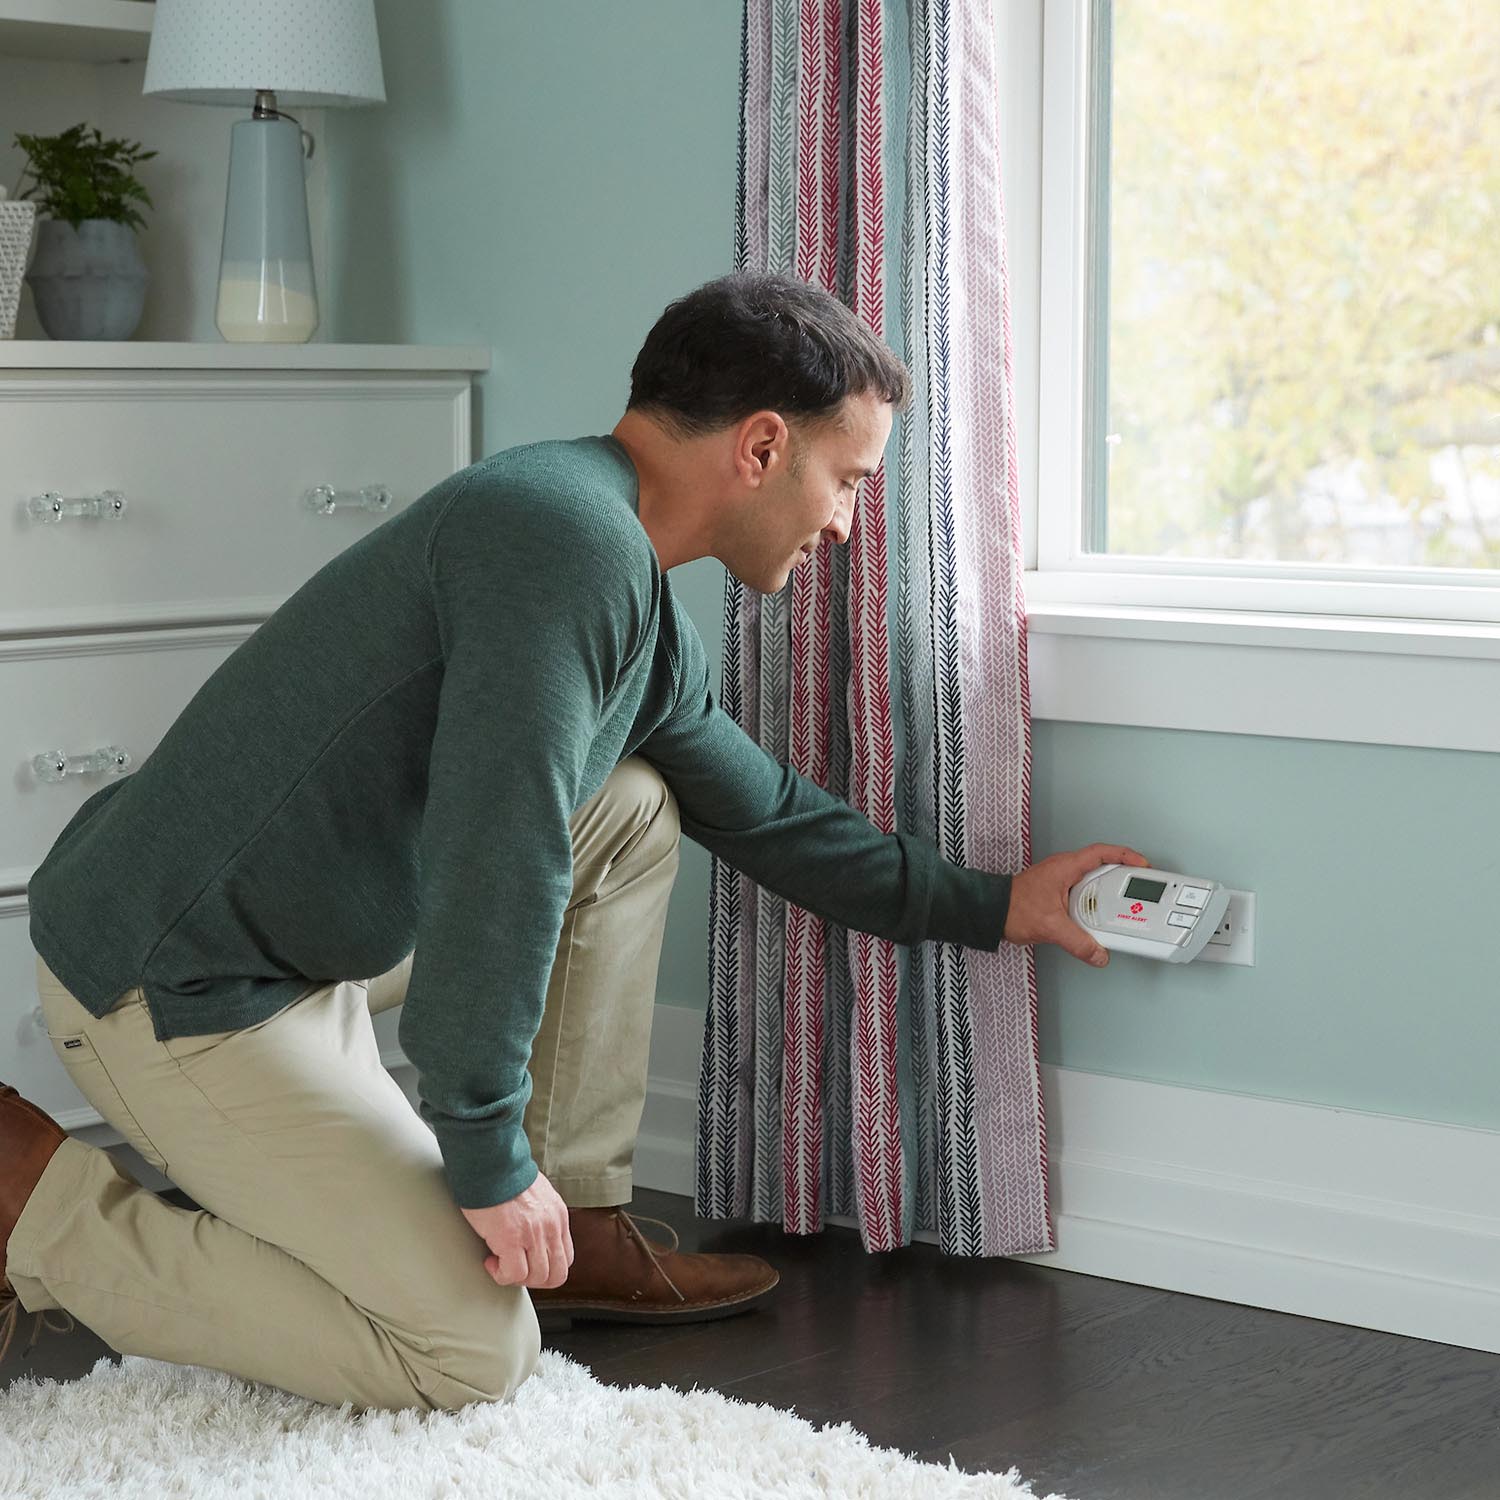
Resetting can clear certain temporary conditions (for example, after changing batteries or after silencing a nuisance alarm). Reset steps can vary by model, but these are common approaches:

Reset Method 1: Battery-Powered Alarms

  1. Remove the alarm from its mounting bracket (if applicable).
  2. Open the battery door and remove the battery.
  3. Press and hold the TEST button for 15–20 seconds to discharge residual power.
  4. Reinstall a fresh battery and close the battery door fully.
  5. Reattach the alarm and press TEST to confirm normal operation.

Reset Method 2: Plug-In or Hardwired Alarms

  1. Turn power off to the alarm (unplug the unit or switch off the circuit at the breaker for hardwired models).
  2. If the unit has a backup battery, remove it.
  3. Press and hold the TEST button for 15–20 seconds.
  4. Restore power (plug back in or turn the breaker on).
  5. Reinstall the backup battery (if applicable) and press TEST.

If your alarm continues to chirp or show a trouble indicator after a reset: Replace the battery, clean the unit, and check whether the alarm is at end-of-life.

Cleaning Your Alarm: Vacuum Monthly to Help Prevent False Alarms

Dust, lint, pet hair, and airborne particles can build up inside alarm vents over time. That buildup can contribute to nuisance alarms or reduced sensitivity. A quick monthly cleaning helps keep your alarm working reliably.

Monthly Cleaning Steps (Quick & Safe)

  1. Use a soft brush vacuum attachment and gently vacuum around the alarm’s outer vents and openings.
  2. Do not spray cleaners, aerosols, or strong chemicals into the alarm.
  3. Do not paint over an alarm or cover vents.
  4. After cleaning, press TEST to confirm normal operation.

Tip: If you’re doing a dusty project (drywall, sanding, cutting), cover the alarm temporarily only if the manufacturer allows it—and remove the cover immediately when finished. Always test afterward.

Helpful Maintenance Checklist

  • Monthly: Press TEST; vacuum vents.
  • When chirping: Replace the battery (if applicable), then test.
  • After power outage: Test hardwired/plug-in units.
  • End-of-life: Replace alarms when they reach the manufacturer’s recommended service life or when end-of-life alerts occur.

FAQs

Does pressing TEST create real smoke or carbon monoxide?

No. The TEST button checks the alarm’s electronics, sounder, and basic functionality. It does not generate smoke or CO in your home.

My alarm failed the test—do I need to replace it immediately?

Start with the basics: confirm power, replace the battery, re-seat the alarm on the base, clean it, and test again. If it still won’t test properly, replacement is recommended.

How often should I clean my smoke alarm or CO alarm?

A light vacuuming around the vents once per month is a solid routine for most homes and can help prevent dust-related nuisance alarms.

Why is my alarm chirping even after I changed the battery?

Make sure the battery is fresh and installed correctly, the battery door is fully closed, and the alarm is firmly attached to its base. If chirping continues, the unit may need a reset, cleaning, or could be at end-of-life.

Should I test interconnected alarms differently?

Use the TEST button on one alarm and confirm that all interconnected units sound. If only one unit sounds, check connections, power, and model compatibility, then test again.

Next Steps

  • Make testing part of a routine (for example, the first weekend of each month).
  • If you have multiple alarms, test one per week to spread out the noise and still cover the home regularly.
  • Keep spare batteries on hand and consider setting calendar reminders for periodic checks.

View All Support Topics

Smoke Alarm Installation and Placement

Ensure your home is protected with our First Alert smoke alarm installation guide. Learn the best placement for every room, understand NFPA recommendations, and avoid dead air zones to keep your family safe.

Smoke Alarm Placement

Learn where to install smoke alarms on every level and near bedrooms, plus where not to place them. Avoid “dead air” corners, vents, and ceiling fans for reliable detection.

Interconnecting Smoke Alarms

Learn how to interconnect multiple smoke alarms so all units sound together. Covers hardwired interconnect, wireless options, compatibility tips, and troubleshooting.

Replacing Smoke Alarms

Learn when to replace your First Alert smoke alarm, how to identify your connection type, choose the right replacement, install it safely, and dispose of old alarms responsibly.

Smoke Alarms for Apartments & Rentals

Learn smoke alarm placement rules for apartments and rental homes, who is typically responsible for installation and upkeep, and hardwired vs battery options. Non-legal code basics included.

Carbon Monoxide Alarm Placement

Learn where to place carbon monoxide detectors for best protection - every level, near sleeping areas, and the right distance from appliances. CO alarms don’t need to be near the floor.

Carbon Monoxide Detector Basics

Learn what carbon monoxide is, where it comes from, what CO detectors detect (and don’t), whether they detect natural gas, and how to know if your home needs CO alarms.

Replacing Carbon Monoxide Alarms

Learn when to replace your First Alert carbon monoxide alarm, how to swap battery, plug-in, or hardwired models step-by-step, choose the right replacement, and dispose safely.

CO Alarms for Apartments & Rentals

Learn CO detector placement for apartments and rental homes, who typically handles installation and battery changes, hardwired vs battery vs plug-in options, and basic code concepts (non-legal advice).

Testing & Maintenance

Learn how often to test smoke and CO alarms, how to test step-by-step, what to do if a test fails, how to reset First Alert alarms, and how monthly cleaning helps prevent false alarms.

Haven't found the answer? We can help.

Contact Us

Contact options may differ depending on the type of help you need.

0 $0.00
Top