Product Support & Resources

Featured Products

Testing Carbon Monoxide Detectors

How Often to Test Your Carbon Monoxide Detectors

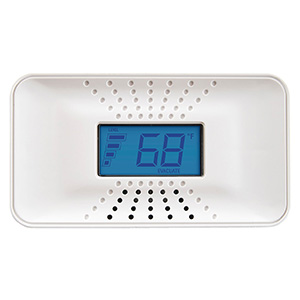
Carbon monoxide detectors should be tested at least once a month to help confirm they are working properly. Since carbon monoxide (CO) is an odorless, colorless gas, a working alarm is one of the most important safety devices in your home.

A monthly test is a quick way to check that the unit has power, the horn sounds correctly, and key electronic functions respond as expected. It is also a good idea to test your CO alarms after battery changes, power interruptions, or cleaning.

Why Regular CO Alarm Testing Matters

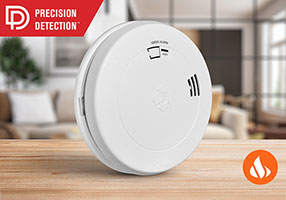
Unlike smoke, carbon monoxide cannot be seen and usually cannot be smelled. That means families often depend completely on a CO alarm to warn them of danger. Regular testing helps make sure the alarm is ready to alert you if carbon monoxide is detected from fuel-burning appliances, attached garages, fireplaces, furnaces, water heaters, or other sources.

  • CO is invisible and odorless
  • Exposure can be dangerous or life-threatening
  • A monthly test helps verify the unit is operating
  • Routine testing supports overall alarm maintenance

When You Should Test a Carbon Monoxide Detector

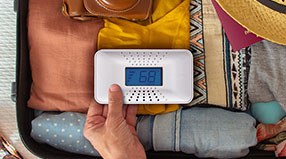
In addition to monthly testing, there are several times when testing your CO detector is especially important.

  • Once a month as part of regular home safety maintenance
  • After installing a new alarm
  • After replacing the battery
  • After a power outage on plug-in or hardwired models
  • After cleaning the alarm
  • At the start of colder seasons when heating appliances are used more often
  • After the alarm has been unplugged or removed

Step-by-Step: How to Test a Carbon Monoxide Detector

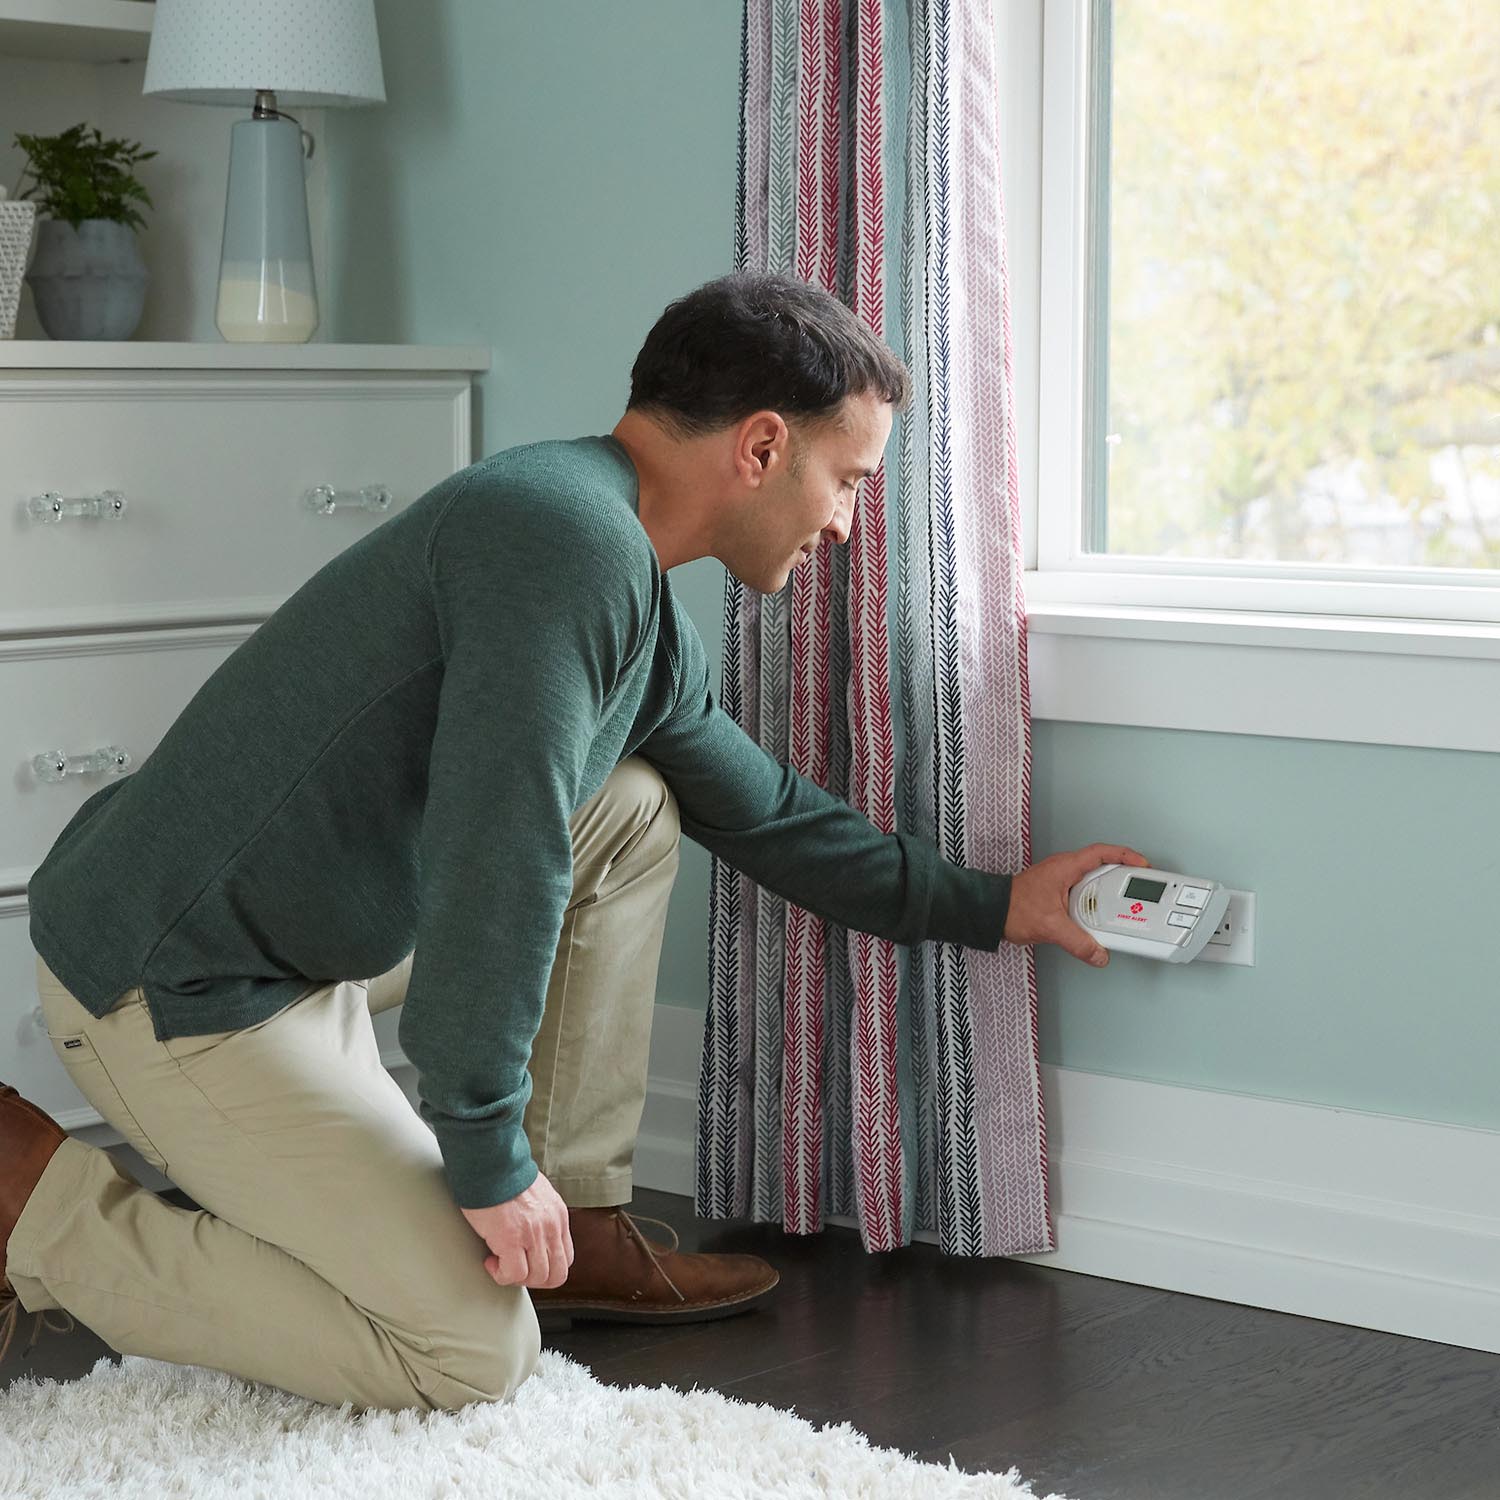
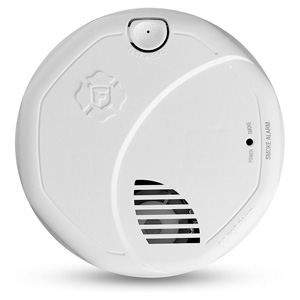
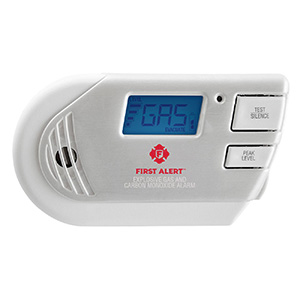
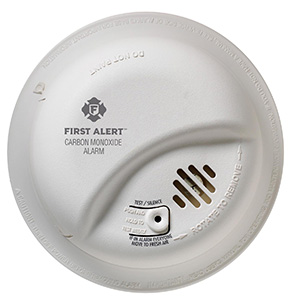
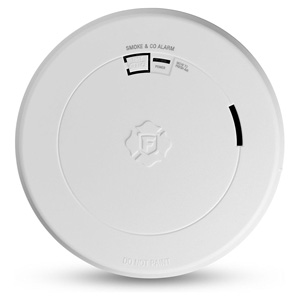
Most carbon monoxide detectors have a built-in Test/Silence button that allows you to perform a basic functional check. The exact sound, voice message, or light pattern may vary by model, but the general steps are similar across many units.

  1. Tell others in the home that you are testing the alarm. The sound will be loud and may activate interconnected units.
  2. Safely reach the alarm. Use a stable step stool if necessary and avoid standing on furniture.
  3. Press and hold the Test button. Keep holding it until the unit responds. Some alarms activate right away, while others may take a few seconds.
  4. Listen for the alarm horn. The sound should be loud and clear.
  5. Check for indicator lights or voice prompts. Some First Alert CO alarms provide visual confirmation or spoken status messages.
  6. Verify other units respond if interconnected. If your alarm system is interconnected, compatible units may also sound.
  7. Release the button and allow the alarm to return to normal. The unit should stop the test cycle and go back to standby mode.

What the Test Button Checks

Pressing the Test button usually checks the alarm’s internal electronics, power source, and sounder. This is the recommended routine test for homeowners and helps confirm the unit can produce an audible warning.

However, the Test button does not create real carbon monoxide inside your home. It is designed to verify basic alarm function, not simulate a real CO event. That is why regular testing should also be paired with proper placement, cleaning, battery replacement when applicable, and replacement at the end of the alarm’s service life.

How to Know if the Test Was Successful

A successful CO alarm test usually means:

  • The alarm sounds loudly and clearly
  • The unit responds shortly after pressing the button
  • Indicator lights or voice features behave normally for your model
  • Interconnected units sound if your system supports that feature
  • The alarm returns to normal standby condition after the test

What to Do if a CO Alarm Fails the Test

If your carbon monoxide detector does not sound during testing, sounds weak, or does not behave normally, work through these steps:

  1. Check the power source. For battery-operated models, install a fresh recommended battery. For plug-in or hardwired units, confirm power is present.
  2. Verify battery installation. Make sure the battery is installed correctly and the compartment is fully closed.
  3. Make sure the alarm is properly attached. Some models must be fully seated on the mounting bracket to operate correctly.
  4. Clean the alarm. Dust and debris around vents can interfere with normal performance.
  5. Test again. Press and hold the Test button after completing the steps above.

If the alarm still does not pass the test, it may need to be replaced. Also check whether the alarm has reached the end of its rated service life.

Testing Plug-In, Battery, and Hardwired CO Alarms

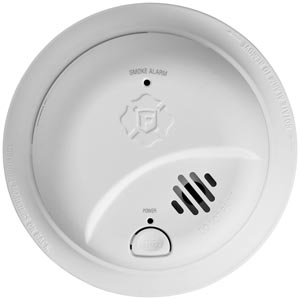
The testing process is similar for most CO alarm power types, but a few extra checks can help depending on the model you have.

Battery-Powered CO Alarms

  • Check that the battery is fresh and properly installed
  • Make sure the battery door is fully closed
  • Test after each battery replacement

Plug-In CO Alarms

  • Confirm the unit is fully plugged into the outlet
  • Check the outlet has power
  • If the unit has battery backup, make sure that battery is also in good condition

Hardwired CO Alarms

  • Confirm household power is on
  • Test after power outages or electrical work
  • If the unit has backup batteries, replace them as needed and retest

Helpful CO Alarm Testing Tips

  • Pick the same day each month so testing becomes part of your routine
  • Test alarms during daytime hours when everyone is awake
  • Check alarms before colder weather when heating equipment will be used more often
  • Keep your model manual for reference on light patterns, voice prompts, and troubleshooting
  • Do not try to create dangerous conditions to test a CO alarm

CO Alarm Maintenance Goes Along With Testing

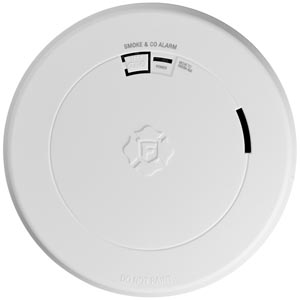
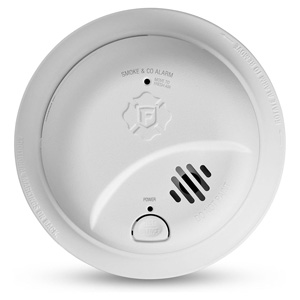
Testing works best when it is part of a full maintenance routine. Keeping the alarm clean and powered properly can help it perform more reliably over time.

  • Vacuum around the alarm monthly with a soft brush attachment
  • Keep the unit free from dust and debris
  • Replace batteries when required on applicable models
  • Do not paint or cover the alarm
  • Replace the alarm at end-of-life according to the manufacturer’s guidance

Common Mistakes to Avoid

  • Waiting until the alarm chirps before checking it
  • Assuming a power light alone means the unit is fully working
  • Forgetting to test after replacing a battery
  • Ignoring a weak or abnormal test sound
  • Leaving a battery backup missing in a plug-in or hardwired model
  • Skipping seasonal checks before furnace use increases

FAQs

How often should I test my carbon monoxide detector?

Carbon monoxide detectors should be tested at least once a month. It is also smart to test them after battery replacement, cleaning, installation, or power interruptions.

Does pressing the Test button create real carbon monoxide?

No. The Test button checks the alarm’s electronics, sounder, and basic functions. It does not generate real carbon monoxide in your home.

How long should I hold the Test button?

Press and hold the button until the alarm sounds. Some units respond immediately, while others may take a few seconds to begin the test cycle.

What should I do if my CO alarm does not pass the test?

Check the battery or power source, confirm the unit is mounted or plugged in properly, clean the alarm, and test again. If it still fails, the detector may need to be replaced.

Should interconnected CO alarms all sound during a test?

In many interconnected systems, yes. Testing one compatible alarm may trigger the others, helping confirm whole-home alert coverage.

Do I need to test a plug-in CO alarm if it already has power?

Yes. A power indicator only shows that electricity is present. You should still use the Test button regularly to help confirm the alarm can sound and respond properly.

Final Reminder

Testing your carbon monoxide detectors once a month is a simple step that can make a real difference in home safety. Because CO cannot be seen or smelled, regular testing helps make sure your alarm is ready to warn you when you need it most.

Related Products

View All Support Topics

Smoke Alarm Installation and Placement

Ensure your home is protected with our First Alert smoke alarm installation guide. Learn the best placement for every room, understand NFPA recommendations, and avoid dead air zones to keep your family safe.

Smoke Alarm Placement

Learn where to install smoke alarms on every level and near bedrooms, plus where not to place them. Avoid “dead air” corners, vents, and ceiling fans for reliable detection.

Interconnecting Smoke Alarms

Learn how to interconnect multiple smoke alarms so all units sound together. Covers hardwired interconnect, wireless options, compatibility tips, and troubleshooting.

Replacing Smoke Alarms

Learn when to replace your First Alert smoke alarm, how to identify your connection type, choose the right replacement, install it safely, and dispose of old alarms responsibly.

Carbon Monoxide Alarm Placement

Learn where to place carbon monoxide detectors for best protection - every level, near sleeping areas, and the right distance from appliances. CO alarms don’t need to be near the floor.

Carbon Monoxide Detector Basics

Learn what carbon monoxide is, where it comes from, what CO detectors detect (and don’t), whether they detect natural gas, and how to know if your home needs CO alarms.

Replacing Carbon Monoxide Alarms

Learn when to replace your First Alert carbon monoxide alarm, how to swap battery, plug-in, or hardwired models step-by-step, choose the right replacement, and dispose safely.

CO Alarms for Apartments and Rentals

Learn CO detector placement for apartments and rental homes, who typically handles installation and battery changes, hardwired vs battery vs plug-in options, and basic code concepts (non-legal advice).

Testing and Maintenance

Learn how often to test smoke and CO alarms, how to test step-by-step, what to do if a test fails, how to reset First Alert alarms, and how monthly cleaning helps prevent false alarms.

Testing Smoke Alarms

Learn how often to test smoke alarms, how to test them step by step, what the test button checks, what to do if a smoke alarm fails, and common maintenance tips.

Testing Carbon Monoxide Detectors

Learn how often to test carbon monoxide detectors, how to test them step by step, what the test button checks, what to do if a CO alarm fails, and helpful maintenance tips.

Resetting First Alert Alarms

Learn how to reset a First Alert smoke alarm or carbon monoxide alarm step by step, including battery, plug-in, and hardwired models, plus common reasons an alarm needs a reset.

Cleaning Smoke Alarms

Learn how to clean a smoke alarm step by step, why dust buildup matters, how monthly vacuuming can help reduce nuisance alarms, and common cleaning mistakes to avoid.

Troubleshooting Common Issues

Learn why your smoke alarm chirps, what beep patterns mean, how to prevent nuisance alarms, why alarms chirp after battery changes, and when it is time to replace an expired unit.

Smoke Alarm Chirping or Beeping

Learn why your smoke alarm is chirping, what different beep patterns may mean, and how to troubleshoot low battery, end-of-life, power, and sensor-related issues.

Nuisance Alarms

Learn why smoke alarms go off without visible smoke, what causes nuisance alarms from cooking, steam, humidity, and dust, and how to help prevent false alarms.

New Battery Issues

Learn why a smoke or carbon monoxide alarm may still chirp after a new battery is installed, including reset steps, battery fit issues, drawer problems, and end-of-life warnings.

Smoke Alarm Battery Replacement

Learn how to change a First Alert smoke alarm battery, how battery replacement differs from sealed 10-year battery models, and what to do if the alarm still chirps after replacement.

Smoke Alarm Expiration and Dates

Learn how to find the manufacture date on a smoke alarm, why smoke alarms expire after 10 years, and why an alarm may need replacement even if it still seems to work.

Haven't found the answer? We can help.

Contact Us

Contact options may differ depending on the type of help you need.

0 $0.00
Top