When checking out, simply select the "New Customer" option. All you need to get started is a valid email address and a secure password of your choosing. After your purchase is complete, your account will be created, and you will immediately gain all the benefits of being an account holder. If you have previously placed an order with us as a guest, you can try using the "Forgot Password" feature under the "Sign In" tab.
Benefits of having an account:
Real-time status updates on all your orders and returns.
Ability to view detailed order history.
Eligibility to enroll in subscription items for recurring discounts.
Access to more store features and quicker customer support.
Connection to a dedicated sales representative if placing bulk orders.
Manage your account settings:
Update your email address and password.
Unsubscribe from email promotions.
Manage item subscriptions.
Delete your account and remove your information.
We respect your privacy and are committed to protecting any personal information you may provide us through our Website. View our privacy policy for more info.
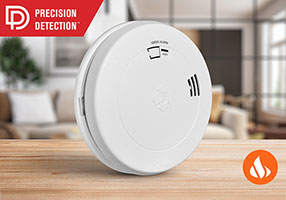
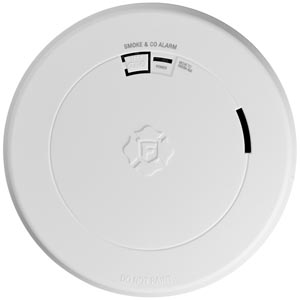
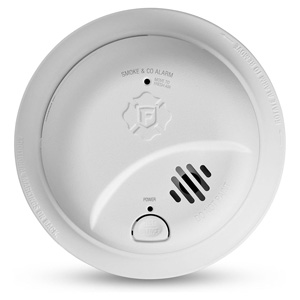
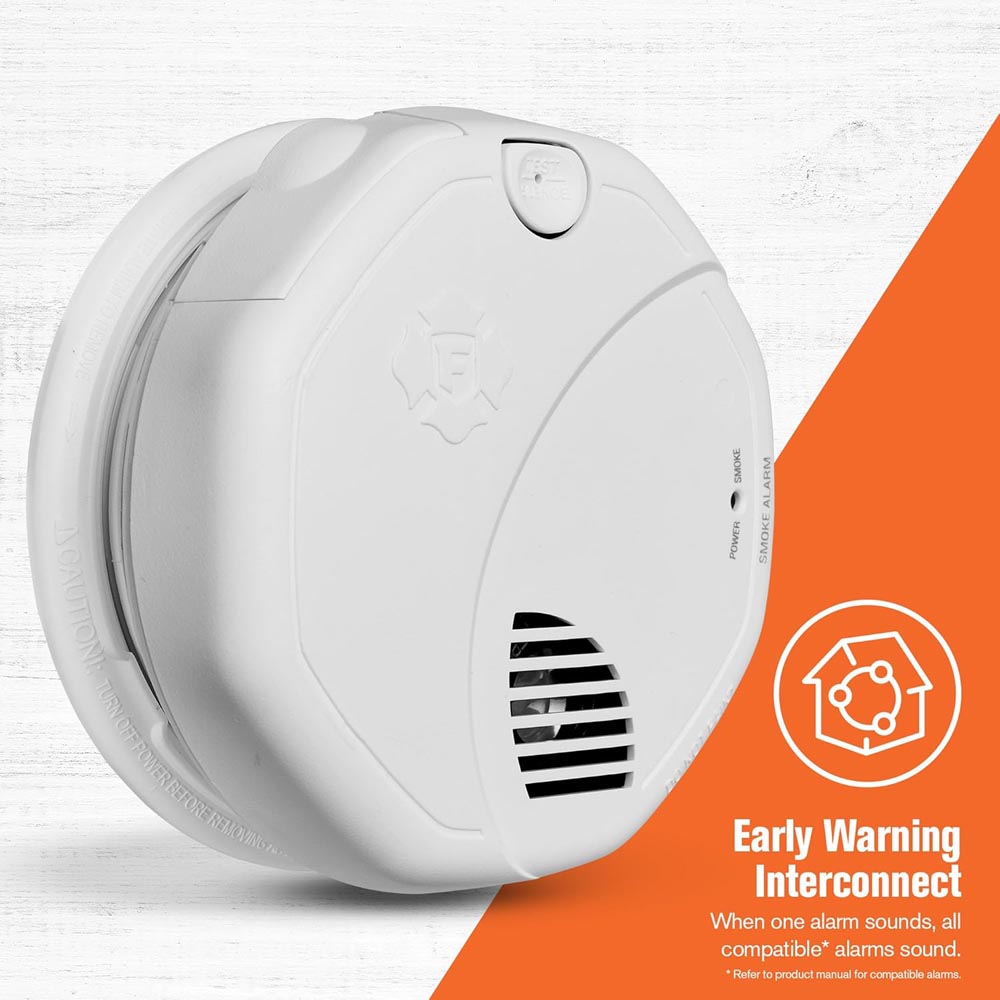
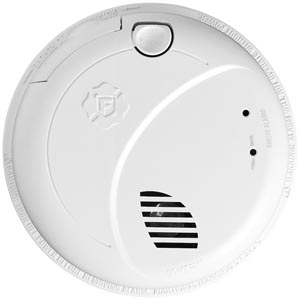
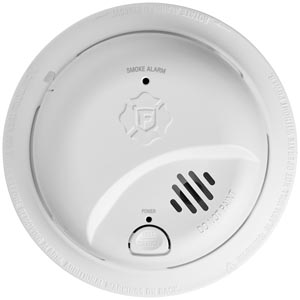
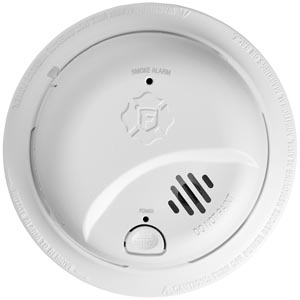
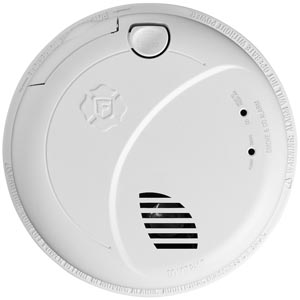
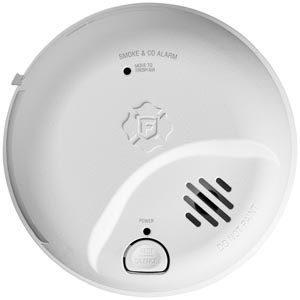
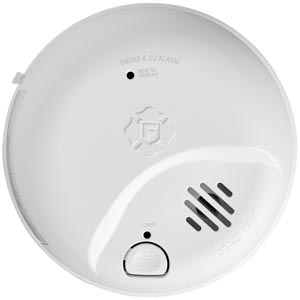
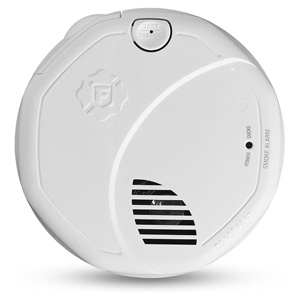
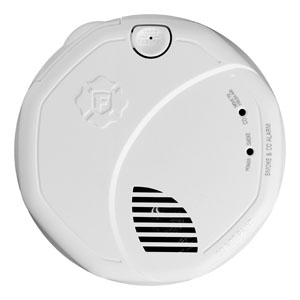
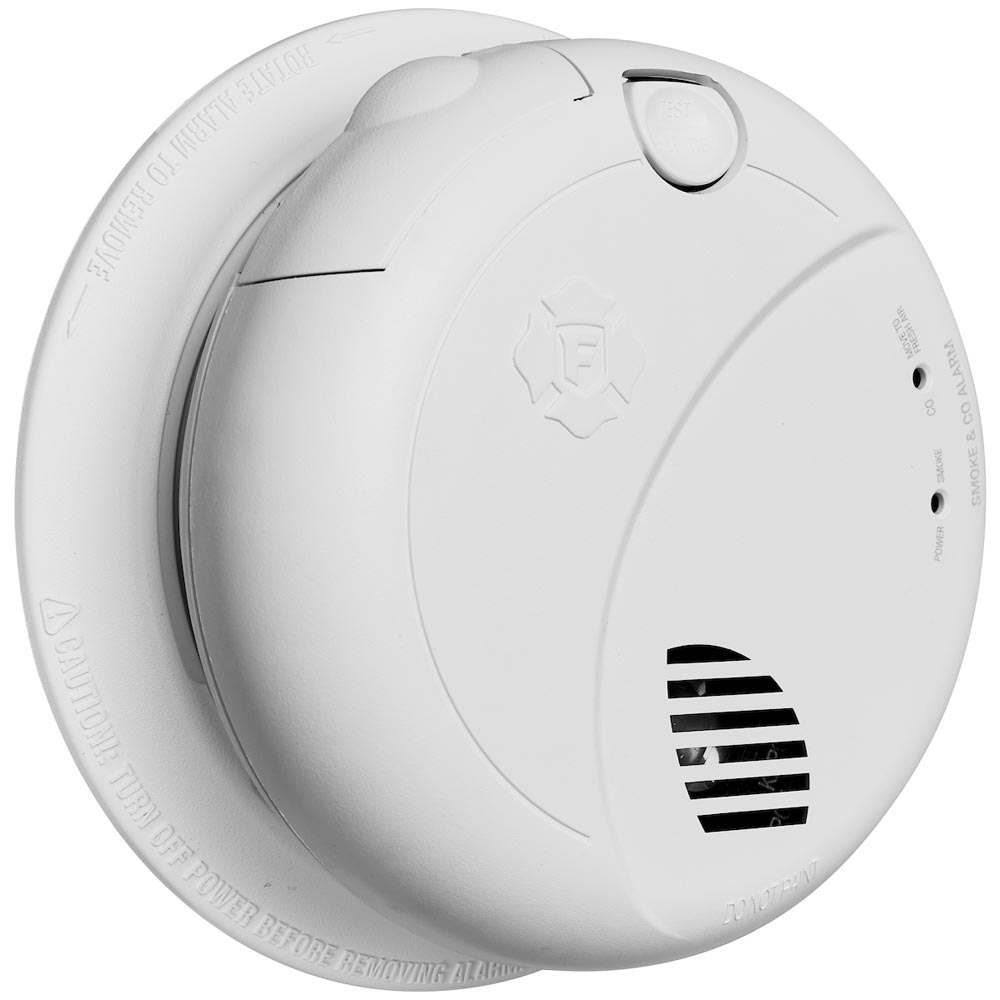
Set Up Interconnected Smoke Alarms That Sound Together
Interconnected smoke alarms provide an important safety advantage by ensuring that when one alarm detects smoke, all compatible alarms throughout the home sound at the same time. Instead of relying on a single alarm in one room, an interconnected system creates a network of alarms that work together to alert everyone in the house more quickly. This can be especially important in larger homes, multi-story houses, or situations where bedrooms are located far from the area where a fire may start.
For example, if a fire begins in a basement, garage entry, or kitchen, a single alarm in that area might not be loud enough to wake someone sleeping on another floor. With interconnected alarms, the moment smoke is detected, every alarm in the network activates, providing faster and more widespread warning. This early alert can provide valuable extra time for occupants to wake up, respond, and exit safely.
Modern interconnected smoke alarms typically communicate in one of two ways: through a hardwired interconnect system built into the home's electrical wiring, or through a wireless interconnect signal that allows alarms to communicate without running additional wires. Both options provide whole-home protection when properly installed. The guide below explains how these two interconnect methods work, how to set them up, and what compatibility rules to consider when connecting multiple alarms in your home.
What does "interconnected" mean?
Interconnected alarms communicate so that if one alarm triggers, the others activate too. This provides faster alerts throughout the home and can help everyone respond sooner.
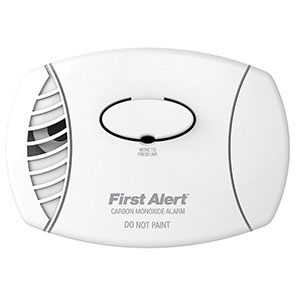
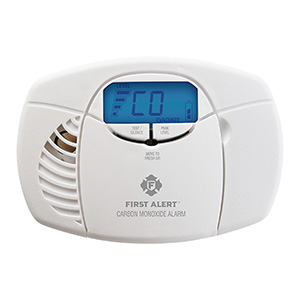
Hardwired interconnect: Alarms are connected with household wiring (typically 120V) and an interconnect wire.
Wireless interconnect: Alarms communicate via radio signal (no interconnect wire required), but they still must be compatible.
Before you start: compatibility checklist
Interconnecting alarms is not universal. Use this checklist before buying or installing:
Match interconnect type: Hardwired units interconnect with hardwired systems; wireless units interconnect with wireless systems.
Use compatible models: Many systems require alarms within the same brand family and compatible series.
Don't mix interconnect technologies: A "standalone" alarm generally cannot join an interconnect network.
Confirm power requirements: Hardwired alarms typically require a junction box and proper circuit wiring.
Follow local code: Some locations require hardwired interconnected alarms in specific scenarios (new construction, renovations).
Option 1: Hardwired interconnect (wired network)
Hardwired interconnected alarms typically use three connections: hot, neutral, and an interconnect/signal wire. When one alarm triggers, it sends a signal through the interconnect wire to activate the others.
Best for
Homes with existing hardwired smoke alarm wiring
New construction or major remodels
Customers who want a reliable whole-home interconnect network
Basic installation overview (replacement or upgrade)
Turn off power at the breaker for the smoke alarm circuit.
Verify power is off using a non-contact voltage tester (recommended).
Remove the existing alarm and disconnect the wiring harness.
Confirm the interconnect wire exists (often a third conductor in the harness).
Install the compatible new alarms using the correct harness/adapter and mounting bracket.
Restore power and test each alarm.
Test interconnect: Press and hold the test button on one alarm; other interconnected alarms should sound.
Important: If your home does not already have an interconnect wire or junction boxes in the desired locations, adding hardwired interconnect usually requires a licensed electrician.
Wired interconnect testing tips
Test after installing each alarm so you can catch issues early.
If only one alarm sounds during a test, check the harness connection and interconnect wire continuity.
If alarms sound but stop quickly, verify batteries are installed (many hardwired models require backup batteries).
Wireless interconnect alarms communicate using radio frequency signals. This can be a great solution when hardwiring isn't practical, such as older homes or finished spaces where running new wire is difficult.
Best for
Older homes without hardwired interconnect wiring
Adding interconnect capability without opening walls
Homes where you want whole-home alerts with simpler installation
Basic setup overview (pairing/grouping)
Install each alarm in its intended location (ceiling/wall) and power it (battery or hardwired depending on model).
Put alarms into pairing mode following the model instructions (often a button sequence or "learn" mode).
Create a group/network so alarms recognize one another.
Label locations if your model supports voice location or app-based room naming.
Test the network: Trigger the test on one unit and confirm other alarms respond.
Tip: Wireless range can be affected by thick walls, metal ductwork, and large appliances. If any alarm fails to link, try re-pairing and testing again before finalizing mounting.
How many alarms should you interconnect?
A strong baseline is to cover:
Every level of the home (including basement)
Inside every bedroom
Outside sleeping areas (hallways near bedrooms)
High-risk or high-traffic areas (as recommended by placement guidelines)
Common issues and quick fixes
Only one alarm sounds during an interconnect test
Verify all alarms are compatible and on the same interconnect "family."
For hardwired: confirm the interconnect wire is present and connected.
For wireless: re-run pairing/grouping steps and test again.
Interconnected alarms chirp or behave inconsistently
Replace batteries where applicable (even hardwired alarms may need backup batteries).
Check for end-of-life indicators (many alarms expire after 10 years).
Clean alarms (dust can trigger false behaviors and reduce sensor performance).
Nuisance alarms set off the whole house
Review placement near kitchens and bathrooms and follow the alarm's recommended distance guidelines.
Use the hush/silence feature correctly (do not remove batteries to silence).
Consider alarm sensor type and features designed to reduce cooking nuisance alarms.
Safety notes
If you are not comfortable working with household wiring, use a qualified electrician for hardwired installations.
Always turn off power at the breaker before removing a hardwired alarm.
Do not mix incompatible alarms; interconnect networks depend on matching communication methods and supported models.
Frequently asked questions
Do all smoke alarms interconnect with each other?
No. Interconnect compatibility depends on the alarm type (hardwired vs wireless), supported model families, and manufacturer guidelines. Always confirm compatibility before installing.
Can I mix hardwired and wireless interconnected alarms?
In most cases, no. Hardwired interconnect uses a wired signal, while wireless interconnect uses radio communication. Unless a product line is specifically designed to bridge both, they are typically separate systems.
How do I test if my alarms are properly interconnected?
Use the test button on one alarm. If the alarms are correctly interconnected, the other alarms in the network should sound as well. Repeat the test from different alarms to confirm the entire network responds.
What if my home has old wiring or no interconnect wire?
If there is no interconnect wire, adding wired interconnect typically requires new wiring and may be best handled by an electrician. Wireless interconnect models can be an easier alternative when running new wire is not practical.
Ensure your home is protected with our First Alert smoke alarm installation guide. Learn the best placement for every room, understand NFPA recommendations, and avoid dead air zones to keep your family safe.